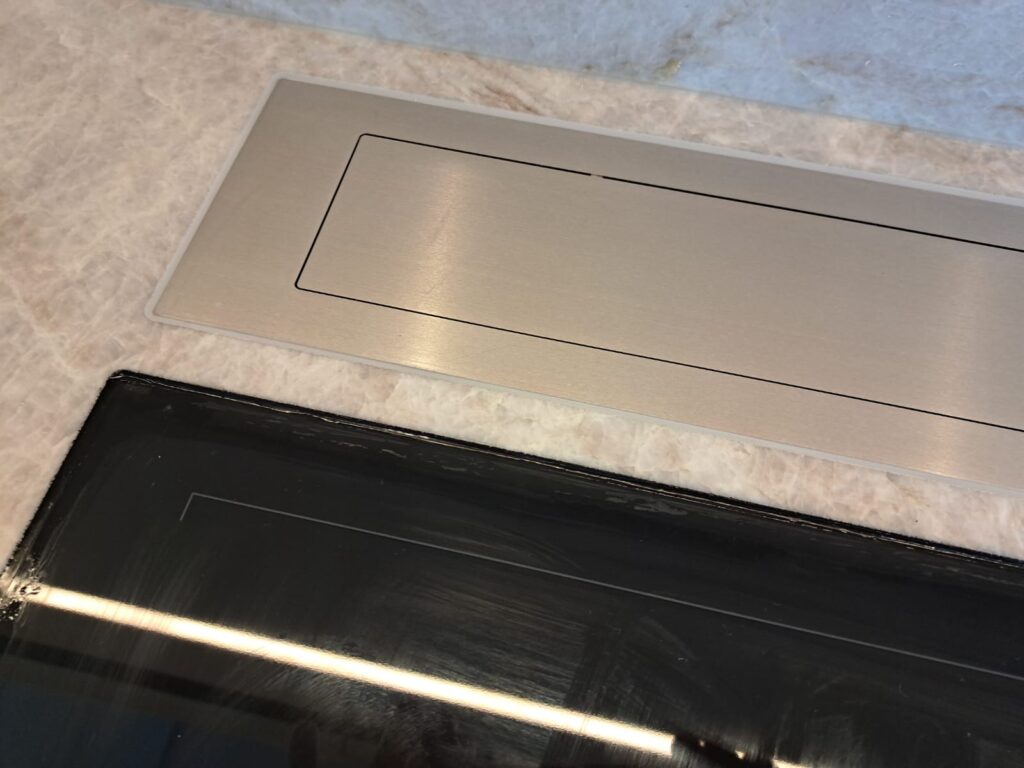
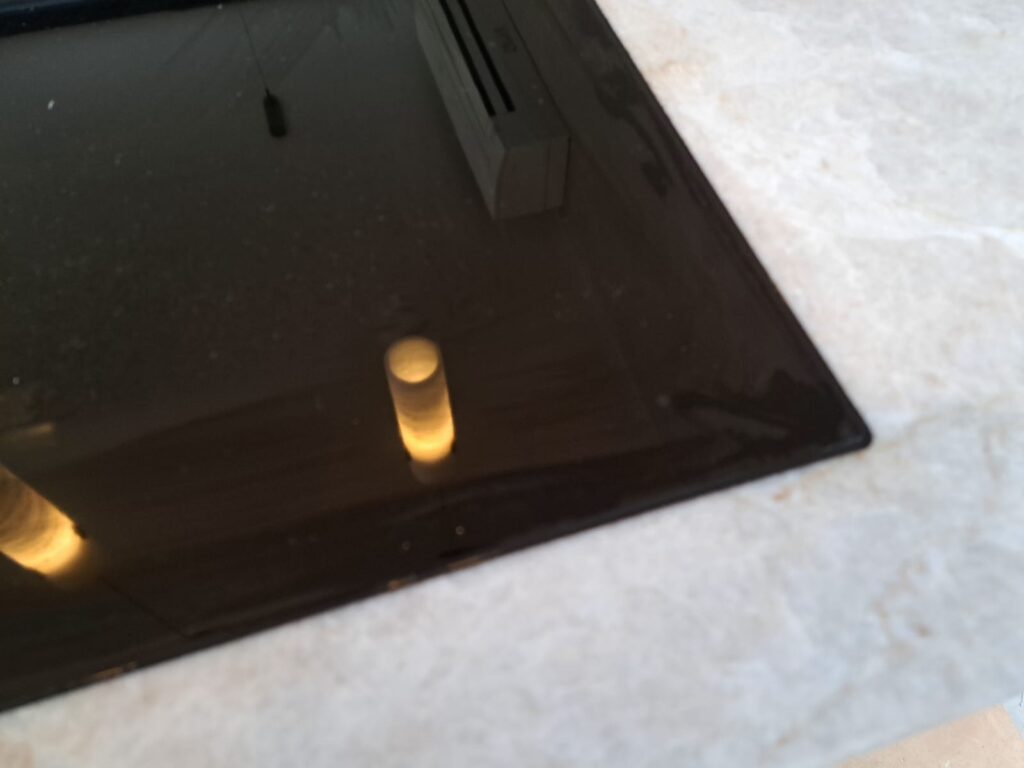
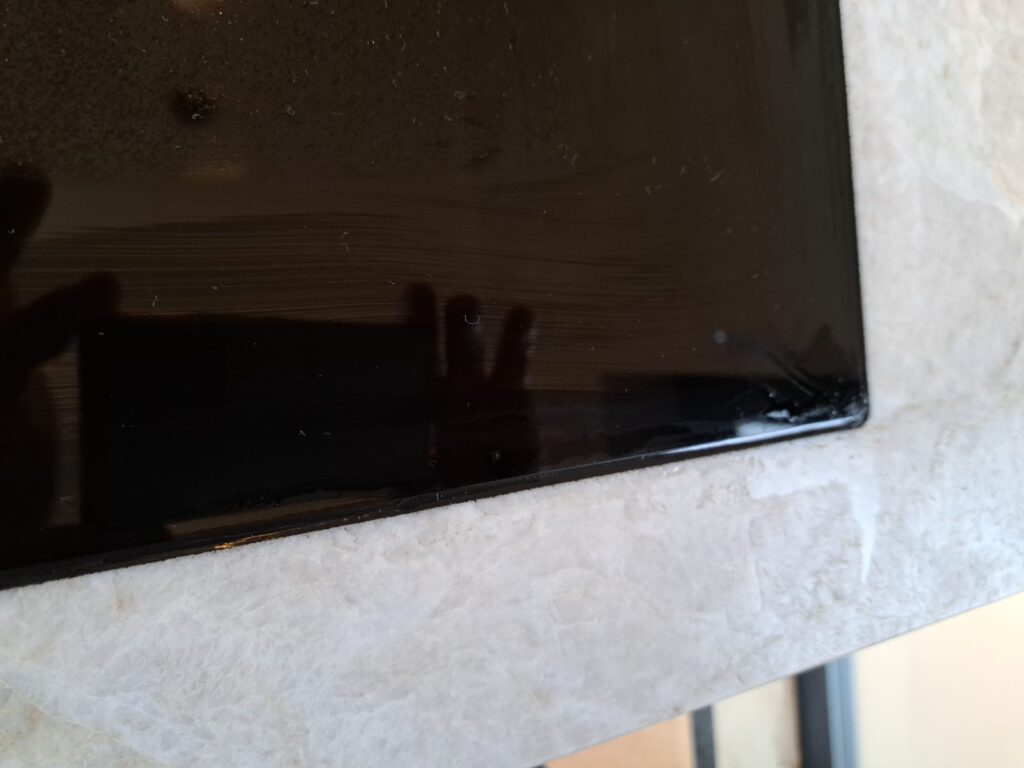
Replacing the silicone sealant around your hob
Replacing the silicone sealant around your hob is a DIY task that can freshen up your kitchen's appearance and ensure a clean, moisture-resistant seal. Here's a basic guide on how to do it:
Tools and Materials
- Utility knife or silicone caulk remover tool
- Silicone caulk (make sure it's heat resistant if it's near the hob)
- Caulk gun
- Masking tape
- Denatured alcohol or a silicone cleaner
- Paper towels or clean cloth
- : smoothing tool a plastic
1. Preparation:
Ensure the hob and surrounding area are completely cool. Clean any debris or food particles from around the area.
2. Removing Old Silicone:
- Use the utility knife or silicone remover tool to carefully cut along both sides of the existing silicone bead.
- Peel away the old silicone. You might need to gently scrape any remnants without damaging the surface.
- Clean the area where the old silicone was removed with denatured alcohol or a silicone cleaner to remove any grease and ensure proper adhesion of the new silicone. Allow it to dry thoroughly.
3. Applying New Silicone:
- Cut the tip of the silicone caulk tube at a 45-degree angle, to match the size of the gap you are filling.
- Insert the tube into the caulk gun.
- Slowly apply the silicone in a smooth, continuous bead along the joint. It's often best to start at one corner and work your way around the hob.
4. Smoothing:
- Wet your a smoothing tool with soapy water to prevent sticking.
- Gently run your tool along the silicone bead in a smooth motion to press it into the gap and smooth the surface.
- Remove any excess silicone before it dries.
5. Finishing Touches:
- Carefully remove the masking tape while the silicone is still wet, to leave a clean, straight line.
- Let the silicone cure according to the manufacturer's instructions before using the hob. This could be anywhere from a few hours to a full day.
Tips:
– Choose a silicone product that’s designed for kitchens or is heat resistant, especially since it’s being used around a hob.
– Ensure good ventilation in the kitchen to help the silicone cure properly and to minimize the inhalation of fumes.
– If you’re not confident in your smoothing ability, practicing on a scrap surface before applying silicone around your hob can be helpful.
This task does not require professional help in most cases, but if you’re not comfortable doing it yourself, consider hiring a professional.


