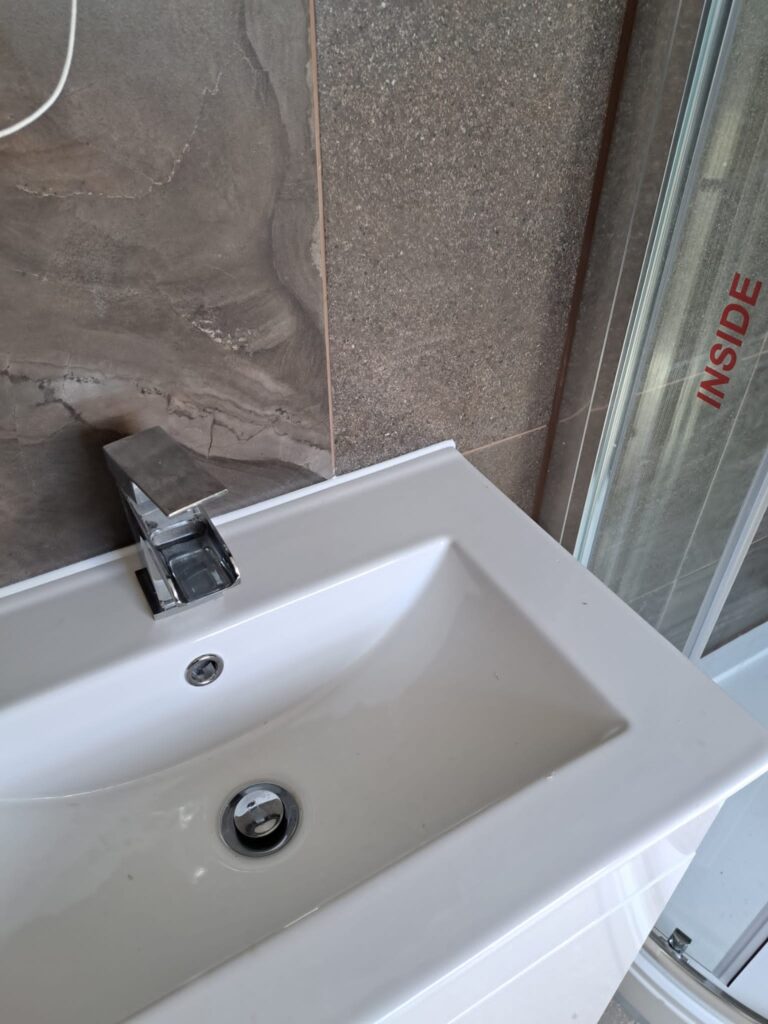
To achieve a professional-looking silicone seal around a sink like shown in the image, here are some steps you can follow:
1. Clean the Surface:
Ensure that the area around the sink where the silicone will be applied is clean, dry, and free of any old silicone, dirt, or grime. This helps the new silicone adhere better and provides a neater finish.
4. Let It Cure:
Allow the silicone to cure according to the manufacturer's instructions. Usually, it takes about 24 hours for silicone to fully set.
2. Apply the Silicone:
Cut the tip off the silicone tube at an angle conducive to the gap you are filling. Use a caulking gun for even application. Hold the gun at a 45-degree angle and apply the silicone evenly along the seam.
3. Smooth the Silicone:
Wet your stick or a caulking tool with soapy water and gently smooth the silicone into the joint. This not only presses the silicone into the seam for a better seal but also removes any excess and shapes the silicone into a neat line.
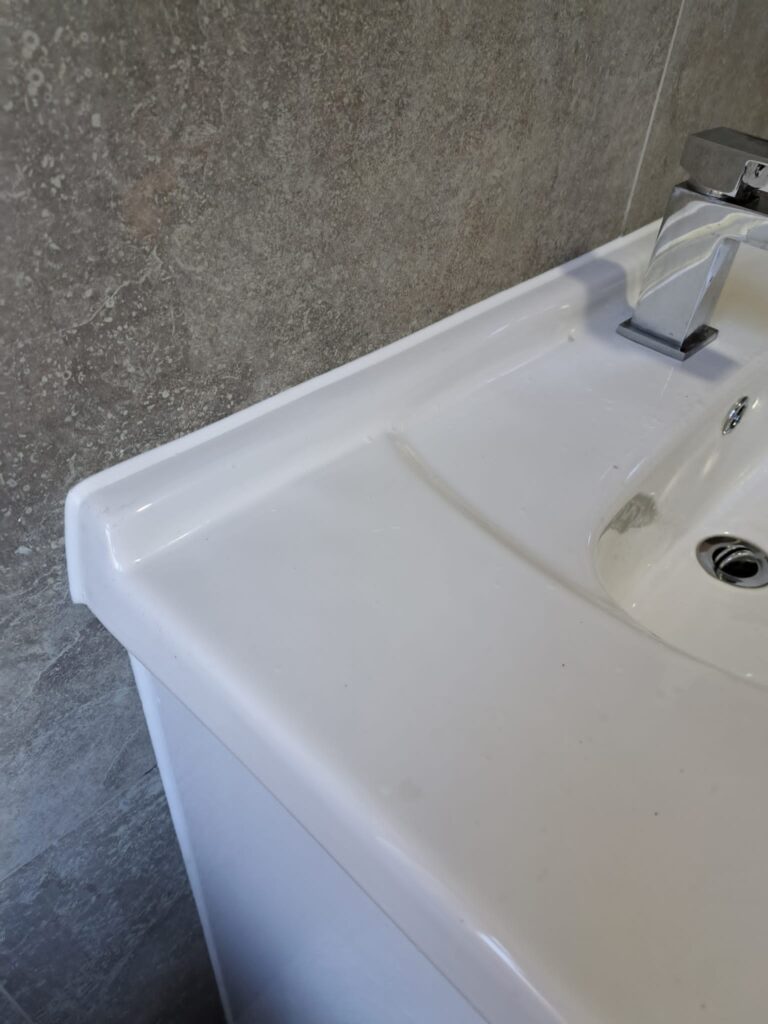
Conclusion:
This image looks like the silicone application is done, as we can see clean lines where the silicone appears to have been applied fully smoothed .